

First find a Zumba logo you like and print it out on a sheet of card stock. Then using an exact-o knife (or a pair of scissors which you have to be very careful with so you don't cut too much) cut out the logo so you're lift with a stencil of the logo you printed out. You don't have to use this particular one, it will work the same way with all of them :)

Then, of course, lay out the shirt you want to use. I used a regular fitted tee. (one of the suzy q ones from walmart that i purchased a few months ago, size medium) You want something that's not too loose and has a little bit of elasticity.

Next align the side seams all the way up so the fold in the shirt is front to back, not side to side. With this new fold lay the shirt flat on your work surface and smooth out any wrinkles.

Using a sharp pair of scissors start with a small snip (about a 1/2-3/4 inch) just above the bottom seam of the shirt and about every half inch (traveling upward) cut another line that is progressively longer than the one below it. Do this till about half way between the bottom of the shirt and the bottom of the sleeves.
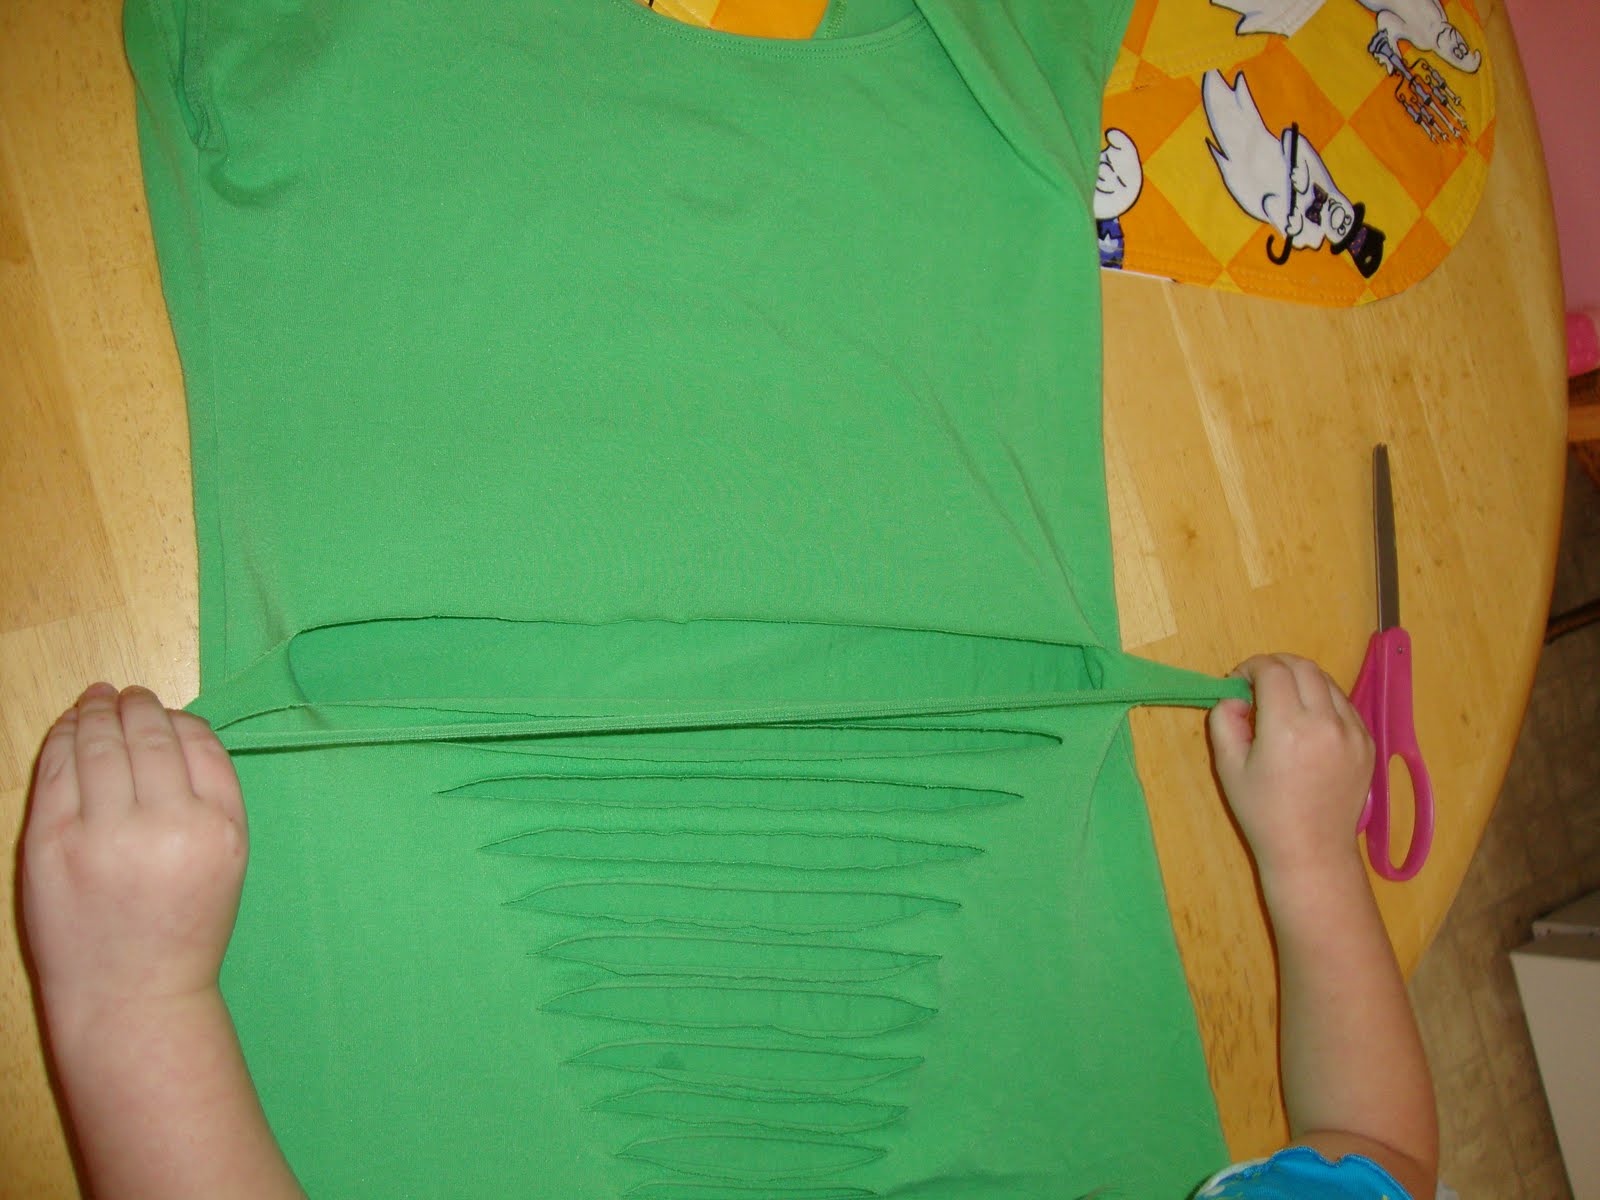
Turn the shirt back to a normal fold and begin pulling at the side of each strand (make sure to do them individually) until they fold in. Cutting complete for this portion!

Now you need some where to put the shirt so you can weave it. I used the back of one of my kitchen chairs. You can use a willing person or a manikin if one is available. It should look something like the picture above. Don't fret if your lines are a little uneven. After you weave it you'll barely be able to tell :)

OK so this is going to be hard to explain, hopefully i'll be able to do it well enough so you'll understand. This is where the video would come in handy :/ lol. starting at the top, pull out the first two strands. Pull the bottom one over and under the top one let go of the top so you are only holding on to the second strand. It should look like the above picture. I hope that makes sense!!! Continue this motion all the way down the shirt. Pull out the next strand and pull it over and pull it down around the second strand and then let go of the second strand.... are you getting this? If you have any questions feel free to leave me any number of comments.

See what I mean? You can see the weave coming through after the first couple strand pulls.

When you get to the bottom (the very last strand) using a ribbon or a pulled material scrap tie the last strand to the very bottom of the shirt. I used a regular black cut of ribbon bc I'm making my logo black.

It should look like this when you're done.

And it should look something like this on when you're done. The weave is very easily adjusted with your fingers so make sure you do try it on to make sure it looks the way you want it to.
I hope you understood and enjoyed weaving your shirt. And if you're only reading it now good luck!! Read my next blog entry for the next part of how to make this Zumba shirt :)
No comments:
Post a Comment